

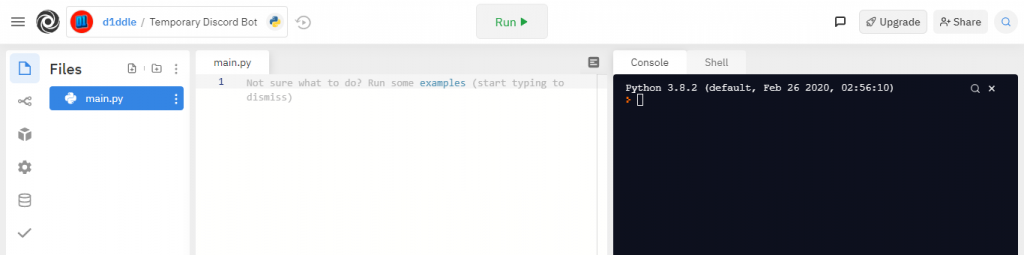
Developing a discord python bot is easier than you think, and better yet you can host it for free 24/7 with replit.com! Let’s get started!
Create an account or sign in with Google, GitHub or Facebook, or log in to your account. Create a new python repl and here we are.
I’m not going to be teaching you any syntax so for writing your own code you’ll need to be a little familiar with python 3.
For those who learn in example, I’ve embedded my commented repl-example bot below, in which you can fork. For ease. Ooh and, if you would like to invite my GameTDB-Bot to your server, follow this link. GameTDB-Bot is probably the only discord bot that can scrape game metadata from Game Title Database sites. It supports Wii, PS3, DS, Switch, 3DS and WiiU games, more being added every day! Current game count as of writing is 37012.
Setup
So lets get set up.
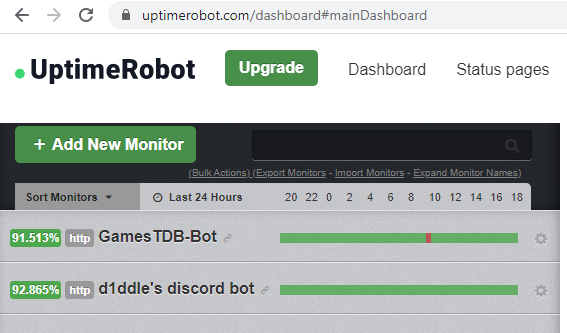
Go over to uptimerobot.com, and create an account.
This service pings web pages (make a request) to see if they are available on the internet. Luckily we can utilise this (and the free 50 monitors) and the “Flask” module to create a HTTP(s) webpage that gets pinged from the Uptime Robot service and keeps the replit alive. This is necessary because replit.com shuts down scripts that are inactive for more than an hour, and therefore is needed if you want to run your script 24/7 as a discord bot.
Note: Replit.com’s “Hacker Plan” ($2 a month) get to have their repls running constantly without this, but it’s so easy to setup, why would you pay for something so niche?
Note2: If you get any issues complaining the modules don’t exist, try opening up a command prompt or switching to the shell in replit and installing the modules with the following command:
Make sure you’re working in the right directory (change directory = “cd”) if you’re not using replit.
pip install <module>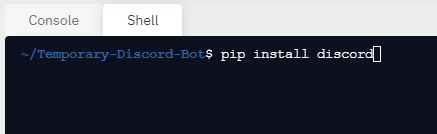
The above applies to further on in the tutorial.
“pip” is the “npm” of python.
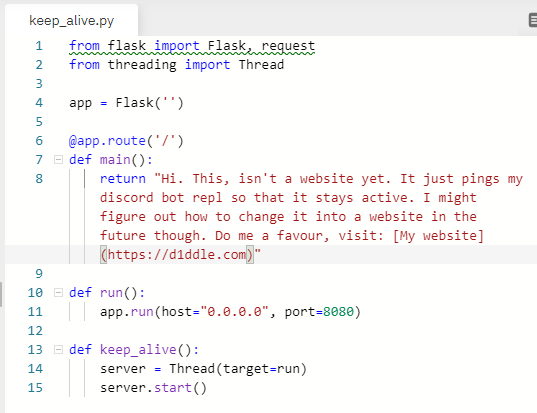
keep_alive.py
Pinging our replit will only work if we have a “keep_alive.py” script that runs on start up. It contains a function that uses flask to host a web page using HTTP(s) which our Monitor pings every half-hour. Don’t worry if you don’t get it now, you will in good time. Or check out my commented example repl
Create a new file

Name it “keep_alive.py”
And paste in the following code.
from flask import Flask, request
from threading import Thread

app = Flask('')

@app.route('/')
def main():
    return "Do me a favour, visit: https://d1ddle.com"

def run():
    app.run(host="0.0.0.0", port=8080)

def keep_alive():
    server = Thread(target=run)
    server.start()
Basically this will start hosting a web page for your repl and print whatever is inside of return in the main() function (images below)
Once keep_alive.py is present, and referenced in your “main.py” (look at embedded example at top of page), log into the uptime robot dashboard and click “+ Add New Monitor”
And select the “HTTP(s)” Monitor Type
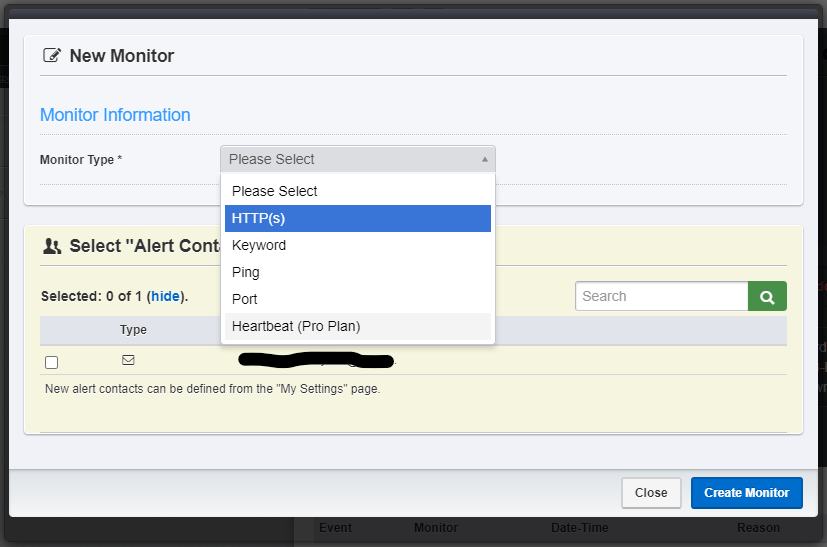
You’ll be greeted with this screen. Make sure to enter the correct details for your repl like so:

The only things that really matter are your URL and Monitoring Interval (Must be set from 5 minutes to 55 minutes as replit shuts down repls after an hour that haven’t been pinged.)
The URL can be found if you run the “keep_alive.py” script (mentioned earlier on) and grab the URL from the dialog box:

Or construct the URL like so:
"https://{Replit-name-with-hyphens-as-spaces}.{author-of-repl}.repl.co"You can test this by opening your browser and entering the URL, but will only work like this if the “keep_alive.py” is present and called from “main.py”.

Once Uptime Robot is happy, and you can confirm it works from replit, you’re ready to go!
Let’s briefly cover sending messages and move onto sending jokes and memes in the chat in a second edition.
Here is a quick example script you can copy-paste and break it down. I find this is the easiest way to learn.
#import modules
import discord
import os
import keep_alive


#defines client and runs the keep_alive.py script
client = discord.Client()
keep_alive.keep_alive()


#if the bot writes the message, ignore it
@client.event
async def on_message(message):
  if message.author == client.user:
    return


#when a message is sent
@client.event
async def on_message(message):

  #if the message starts with 'hello'
  if message.content.startswith('hello'):

    #send 'hello user!' back to discord
    await message.channel.send("hello user!")
That’ll be it for this tutorial, but now everything is set up, running and ready to go, we can try out requesting jokes and memes from websites with JSON. See you soon!
Anyway, thanks for spending your time to read this blog, and if your reading from the future, leave a comment, and like a video of mine (It’s really appreciated!)
And by the way, if you ever have any issues about or with this blog or project, or just want to share your results from it, create a thread in the website Forum. Thanks!